


How To: UTV/ATV Cam Chain Tensioner Upgrade Install
Hello, everybody! This is Jake from Rev6, bringing you an in-depth tutorial on our cutting-edge Rev6 upgraded cam chain tensioner. If you own a side-by-side or ATV and love giving them those cool upgrades, welcome to your new favorite corner on the internet! This post primarily serves those who are intrigued by mechanics and want to explore more about Polaris motors and their tensioner enhancements.
The Issue with Hydraulic Tensioners
Quite a number of Polaris engines come equipped with hydraulic tensioners. One key problem with these is that until the motor builds oil pressure, there is insufficient tension on the chain. You can even physically squeeze the cam chain and feel the slack in these situations. Once you lose the chain’s tension, the risk of skipping teeth on your cams becomes a threat. The consequences? Your valves can potentially make contact with the piston, forcing you to rebuild the whole top end. I bet some of you out there already relate to this scenario.
Inside the Box: A Peek at the Rev 6 Tensioner
So, if you have had to deal with hydraulic tensioner headaches or simply looking to upgrade your tensioning system, let me introduce you to our nifty Rev 6 tensioner.
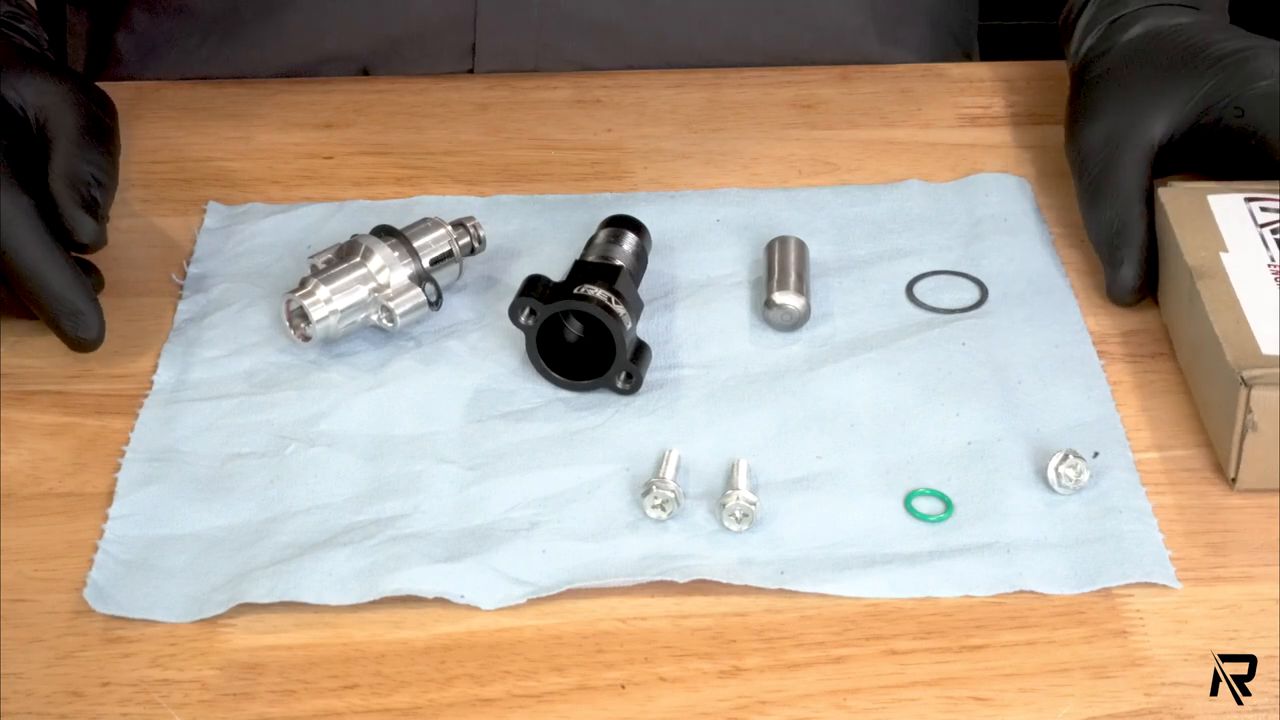
When you purchase one of our Rev 6 tensioners, here’s what you’ll receive in the box:
- Mechanical ratcheting-style tensioner
- Two-bolt flange gasket
- Aluminum billet adapter (anodized black)
- Spacer/Dowel pin
- Crush washer
- Two 10 mm bolts
- O-ring
- 10 mm plug
I’ll go over how all these pieces come together a little later in this post.
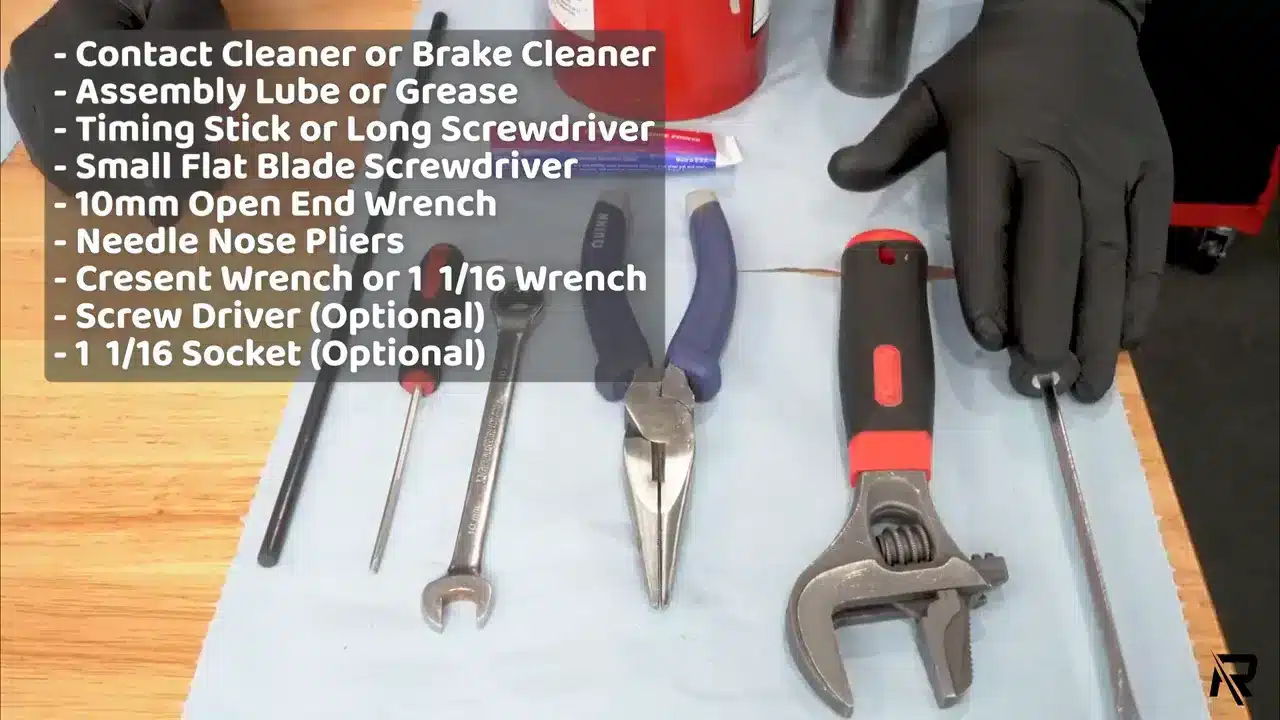
Now, to the nitty-gritty of installation, here are some of the tools you’ll need to make the job a breeze:
- Contact, brake, or carb cleaner
- Assembly lube (or a good-quality waterproof grease, in small amounts)
- A flat-blade screwdriver
- 10 mm open-end wrench
- Needle-nose pliers
You may also need an inch and 1/16 wrench, but a crescent wrench will do if that’s not a regular feature in your toolbox.
The Magic of the Ratcheting Style Tensioner
Our mechanical ratcheting-style tensioner is a detail-focused enthusiast’s delight. Once the tensioner ratchets out, it does not budge. This comes in handy when the engine is running and the chain experiences any stretch or slack. The tensioner ratchets out to prevent that from happening. This reliable mechanism is especially useful for weekend warriors looking for trustworthy upgrades when they are out adventuring with family.
Let’s delve deeper into the installation process.
How to Install the Rev 6 Cam Chain Tensioner
Assuming you are working with a Sportsman 570, installing the Rev 6 tensioner is quite straightforward. In fact, the process is identical for a Ranger 570, albeit a tad more challenging in the ATV than in the side-by-side set-up.
Even though the steps may seem tough, remember to keep your cool. As with any upgrade process, there will be instances where things aren’t as smooth, and frustrations run high. Just take a deep breath, keep your focus, and you’ll ace it.\nBLOCKQUOTE END\n
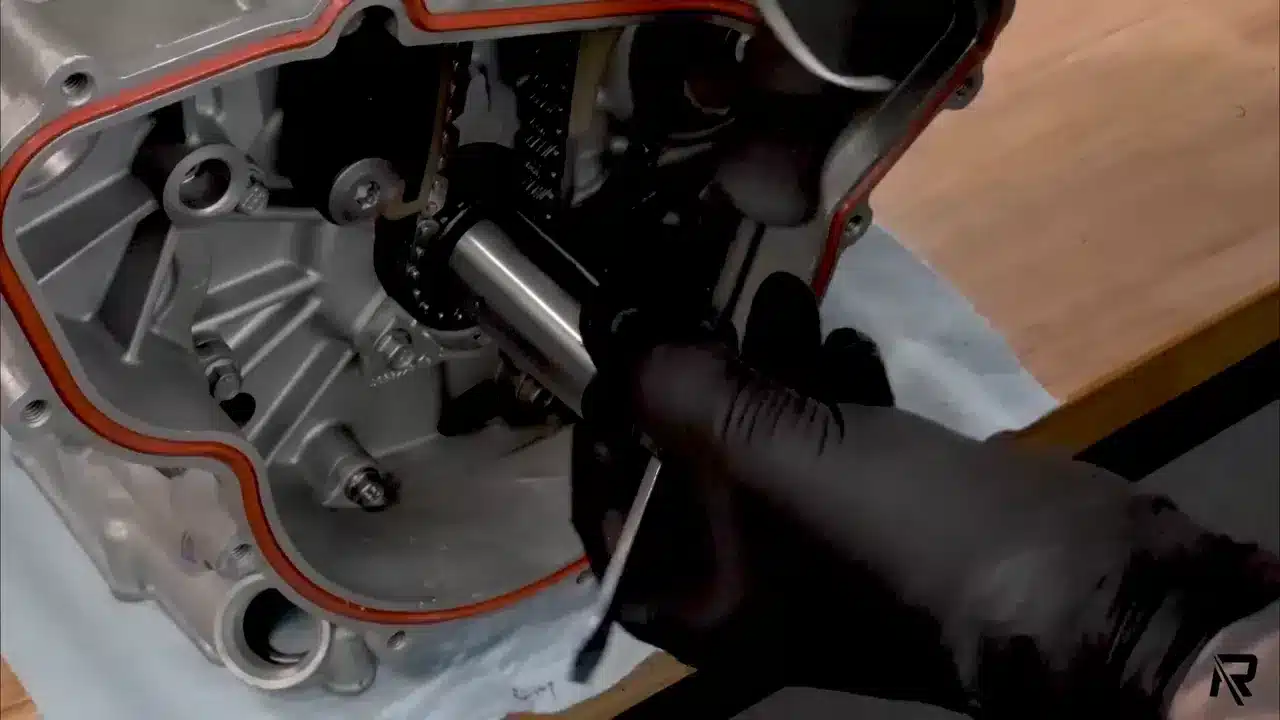
Step 1: Finding Top Dead Center
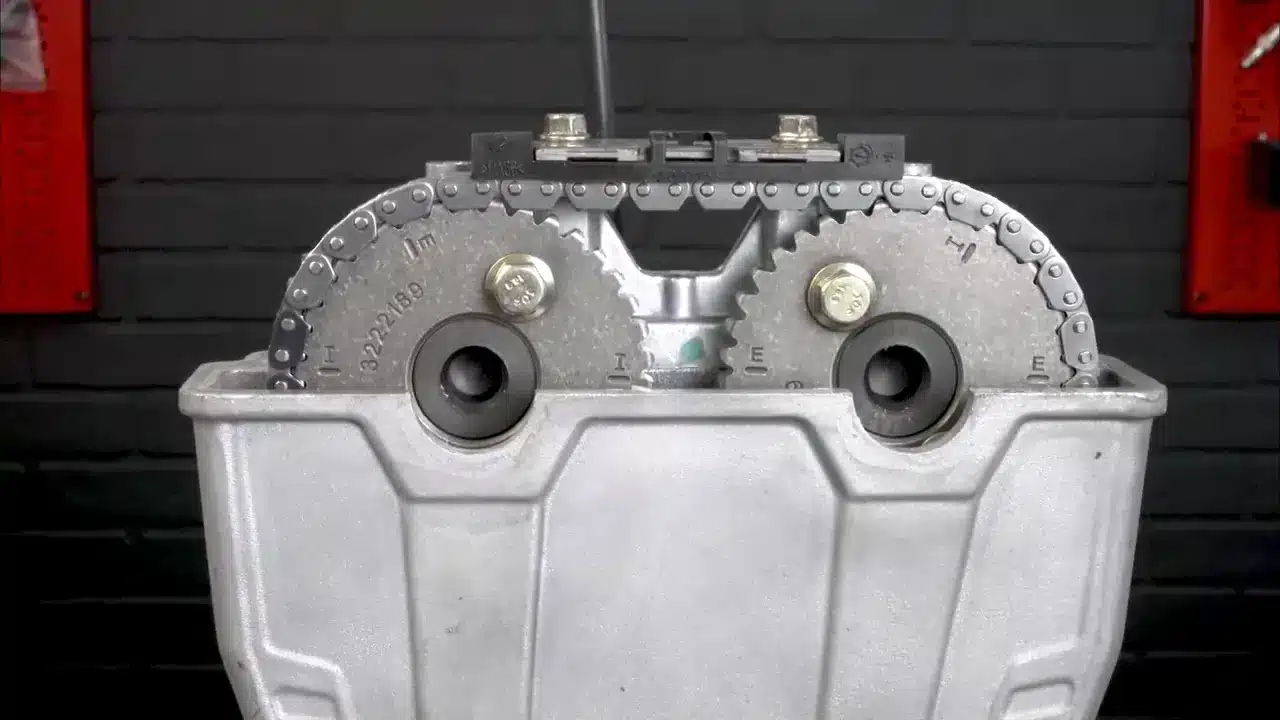
If you don’t have the flywheel off, refer to your crank position hole and rotate the engine over. Keep rotating until you find a little mark through the window that indicates the Top Dead Center (TDC). It should align with a small ‘v.’ If you’re doing the work with the motor clean, it’s even easier: just turn the motor and use the I and E marks on your cam to find the TDC.
Step 2: Cleaning

Before you start installing, ensure that the area is clean. You can use a contact cleaner, carb cleaner, or, like we do here at Rev 6, brake cleaner. You’re primarily getting rid of any oil that may interfere with the installation process.
Once you have a clean surface, check the tensioner area for any burrs. Since the cylinder is usually aluminum, just running your fingers over it will help spot any. This step is crucial to avoid any potential leaks in the future.
Step 3: Assembly
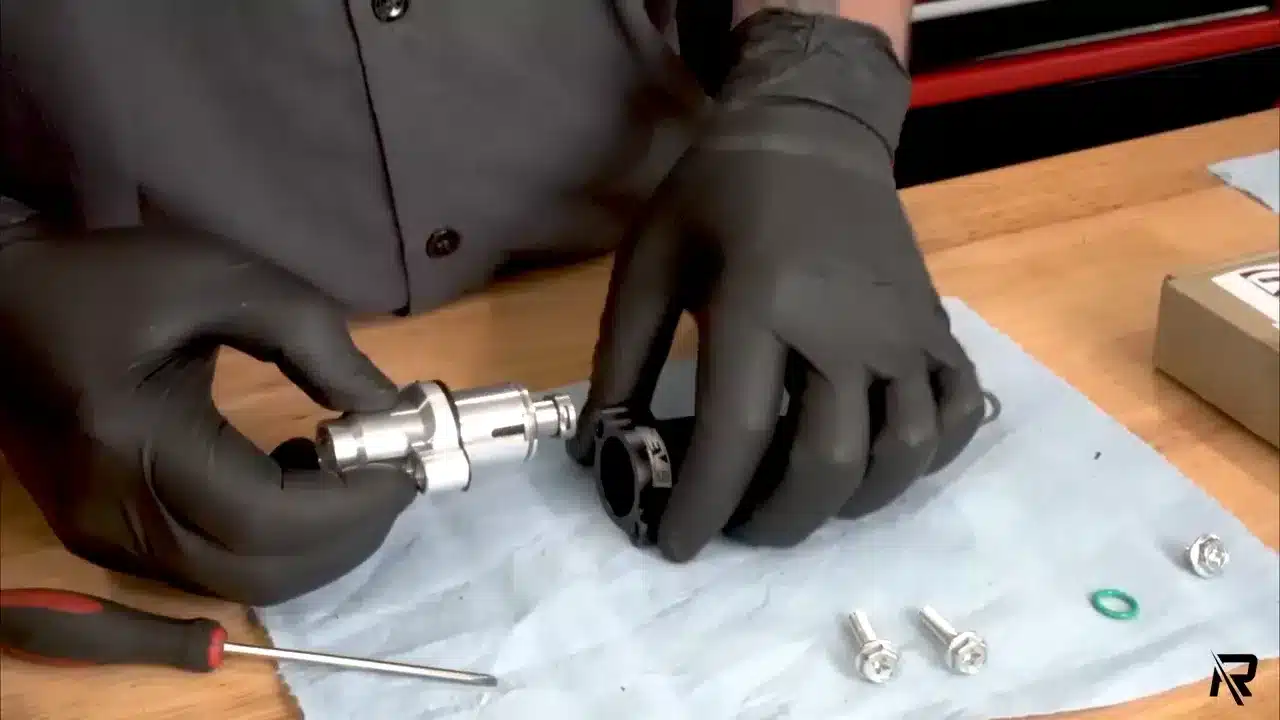
Get your 10 mm bolts and fasten the assembly, ensuring you screw in evenly. Once that’s done, take your 10 mm open-end wrench and snug them-up.
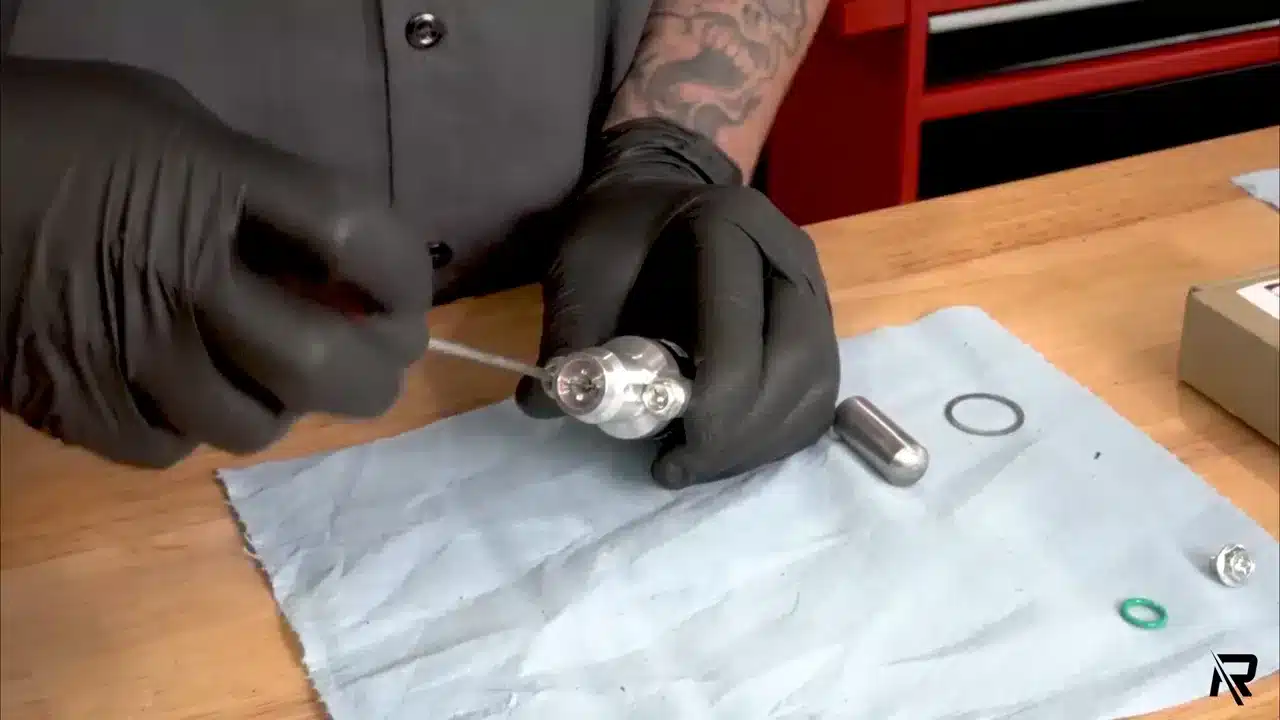
Dab a little assembly lubricant on the base of the tensioner, and place the O-ring on the tensioner. Ensure that it sits flush.
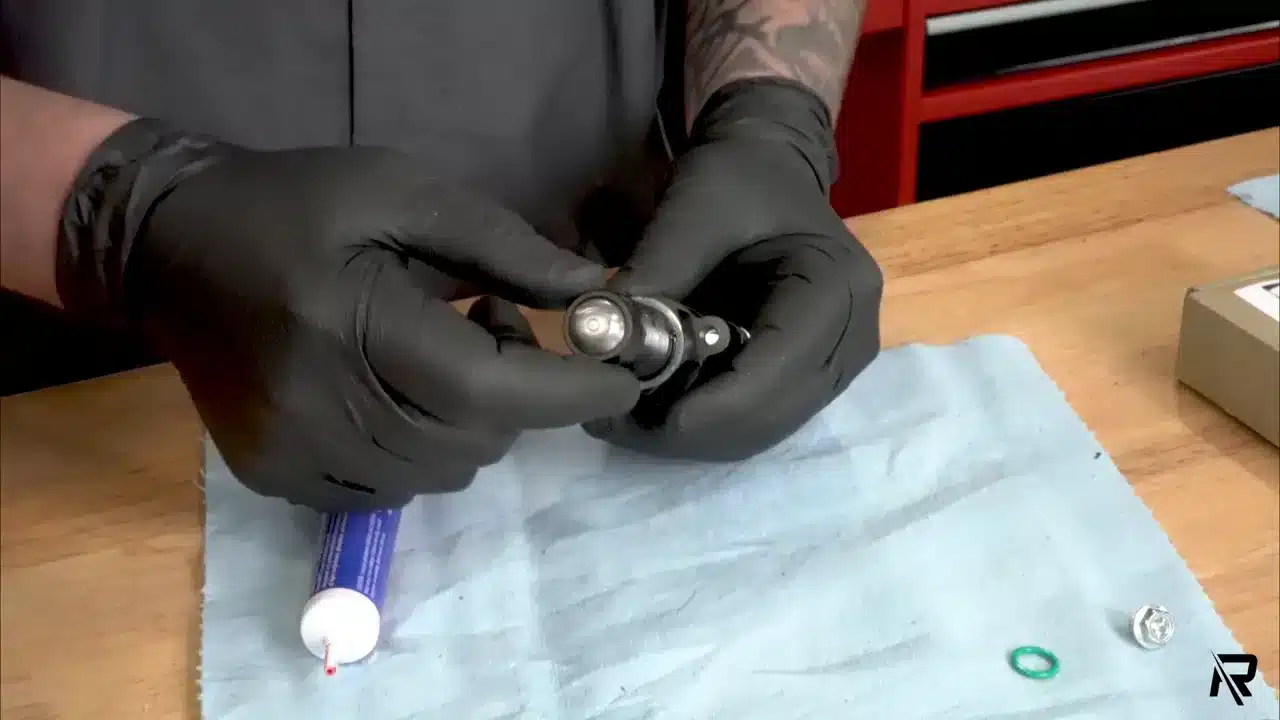
Take your spacer, ensure the flat side is going into the tensioner while the rounded side faces you.
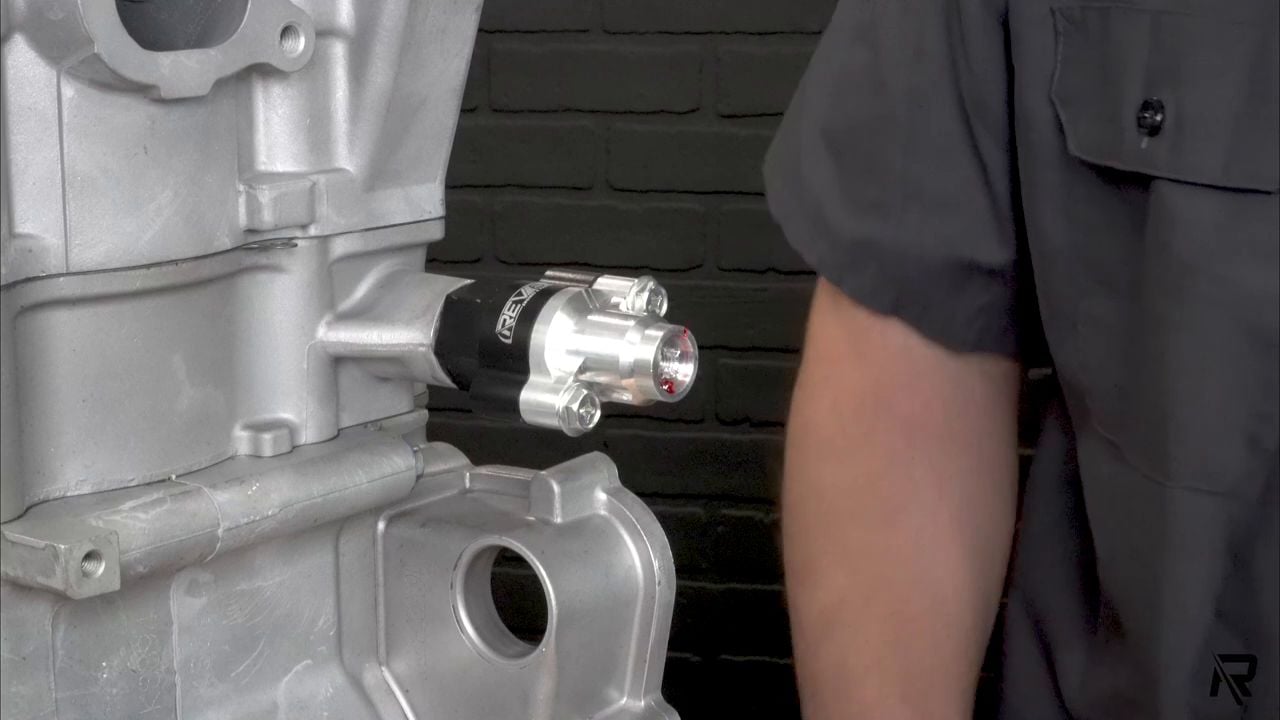
Step 4: Installation
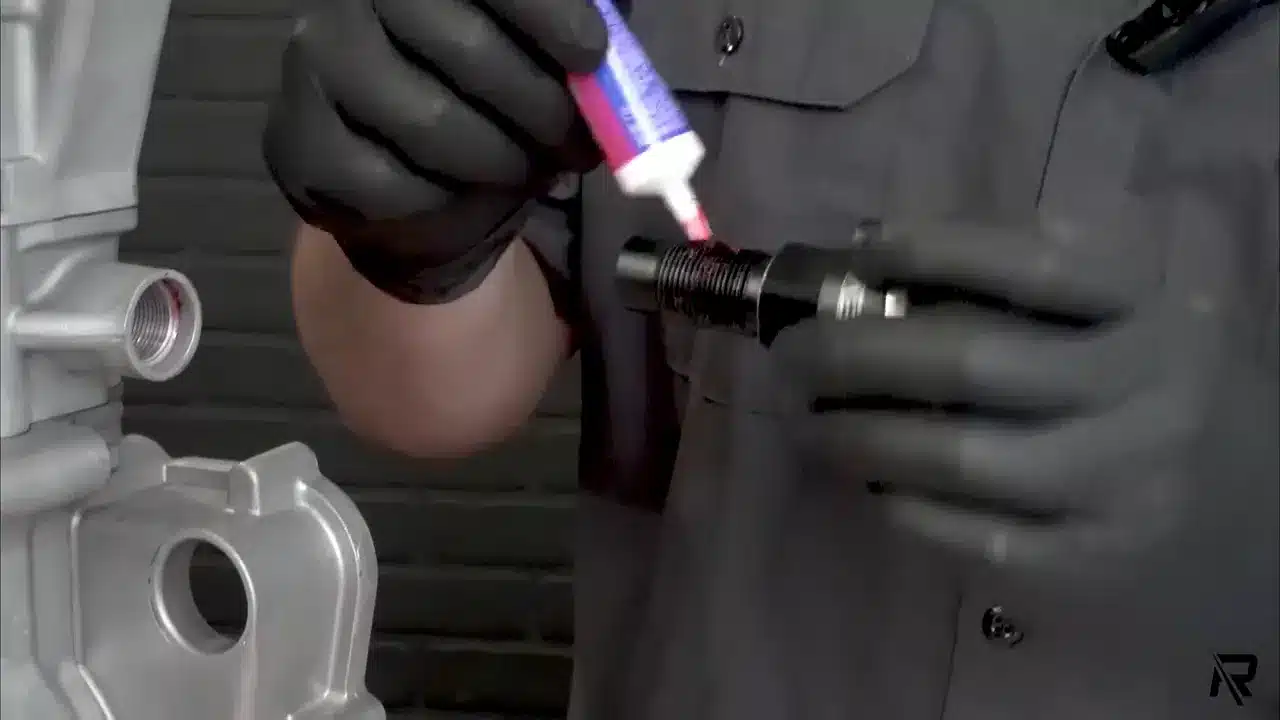
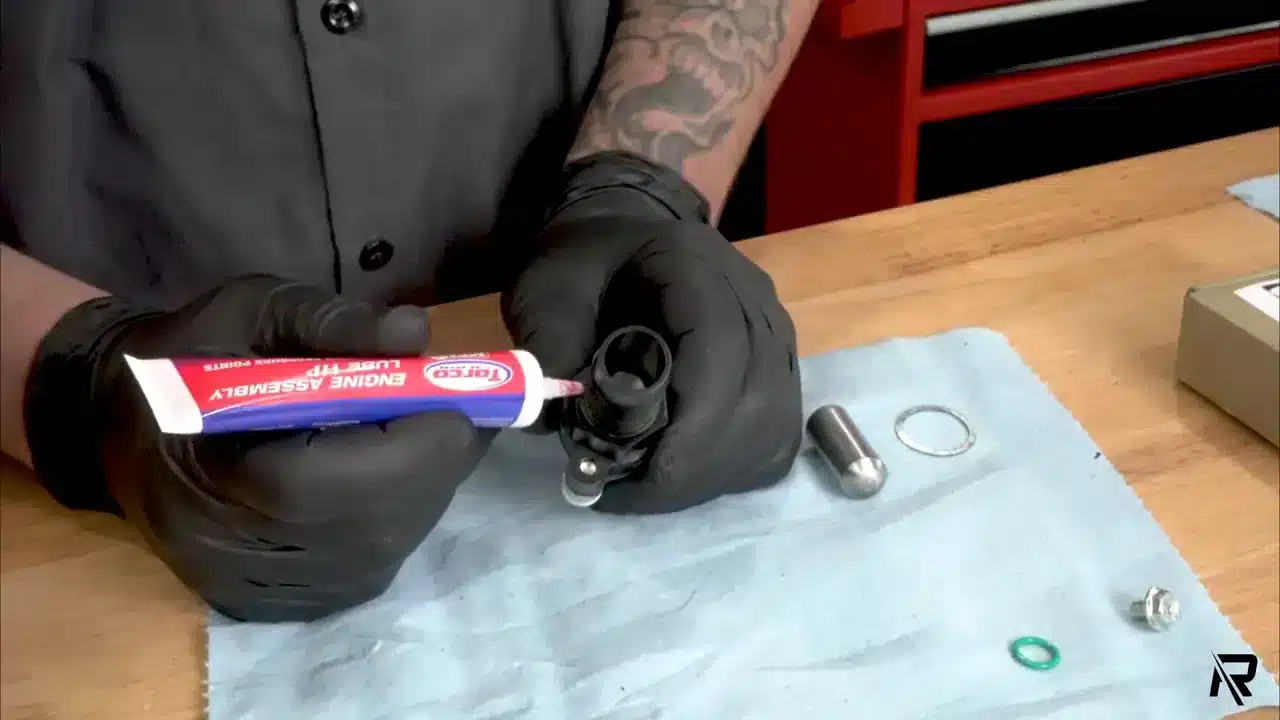
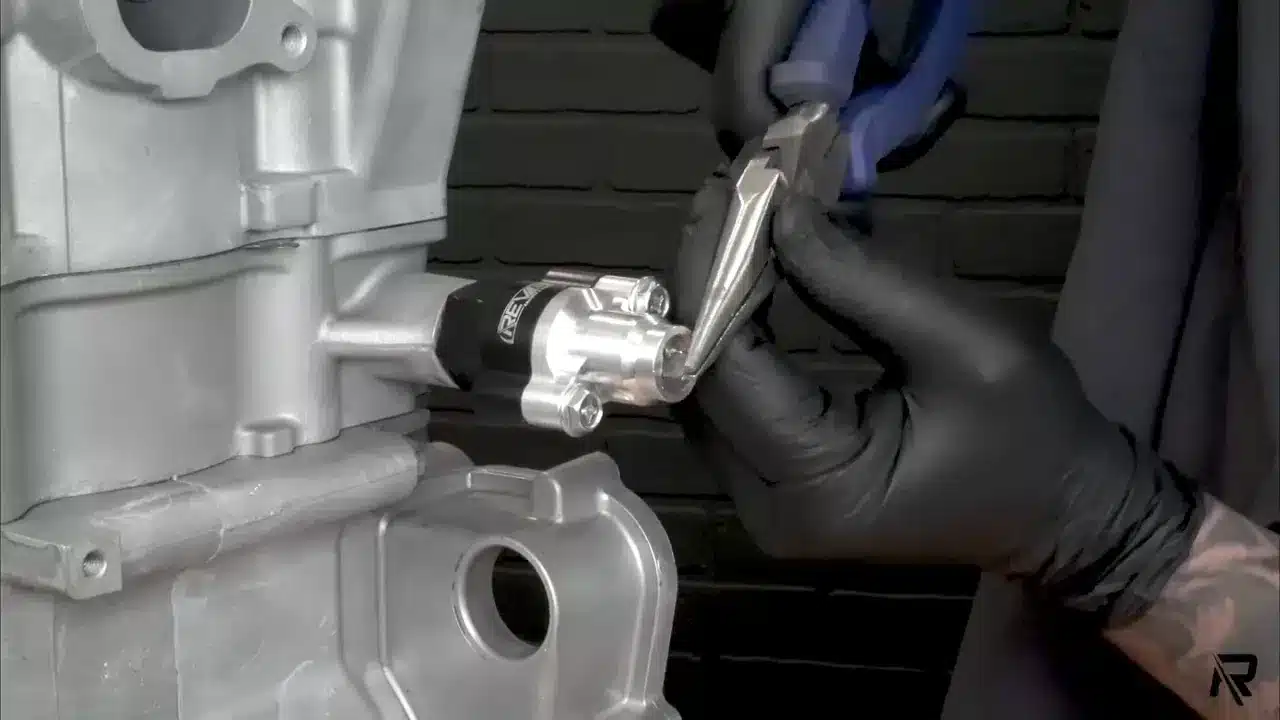
Apply assembly lube to the tensioner threads.
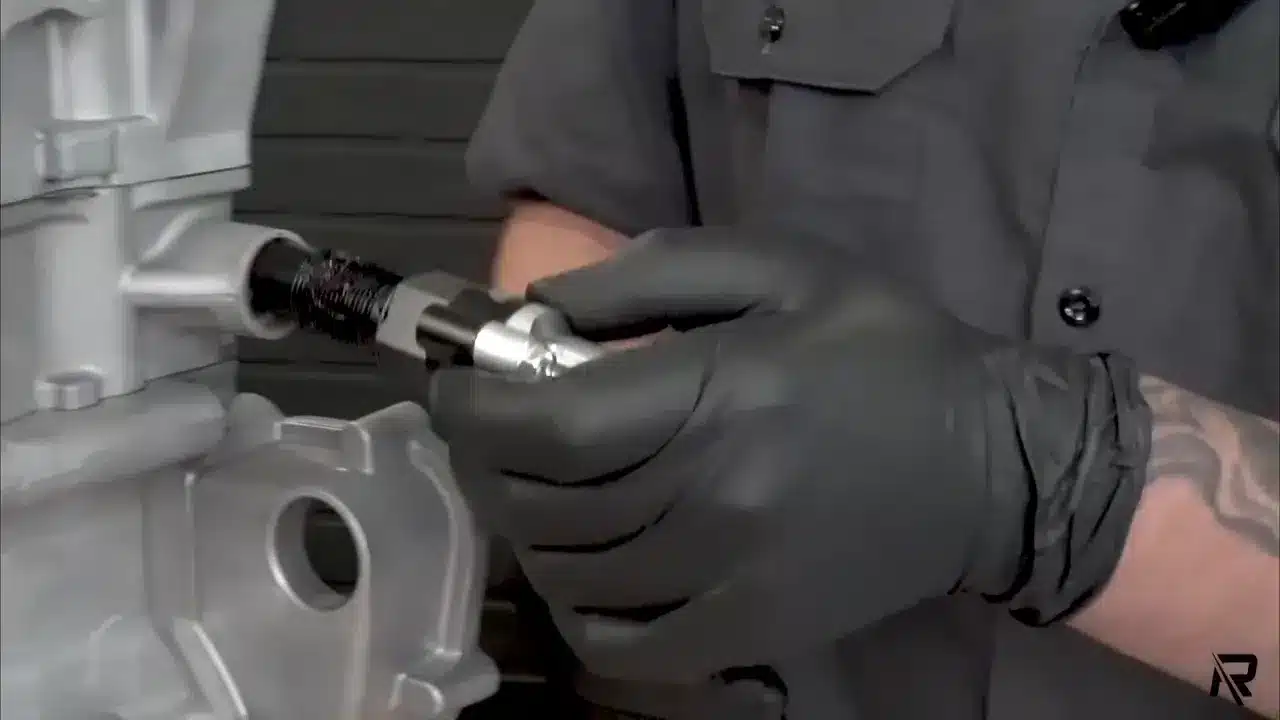
Insert tensioner into tensioner hole.
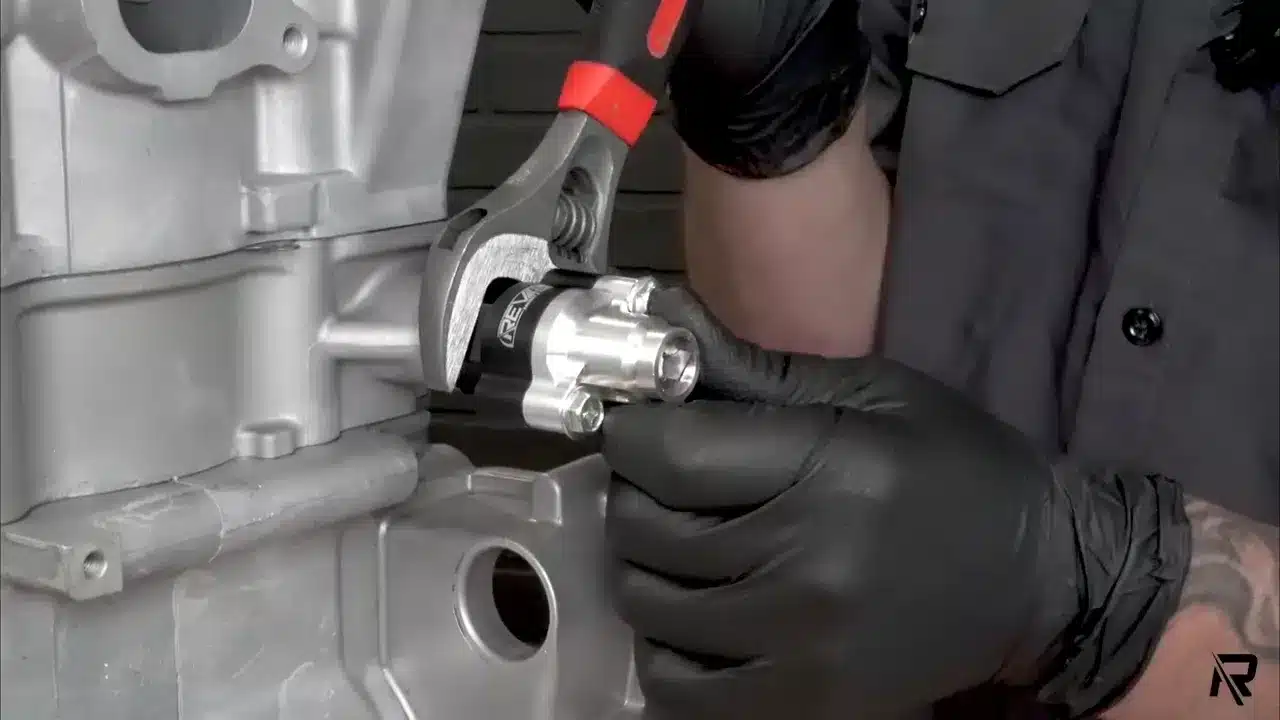
Tighten by hand, then make snug with a crescent wrench.
Use needle nose pliers to remove the pin.
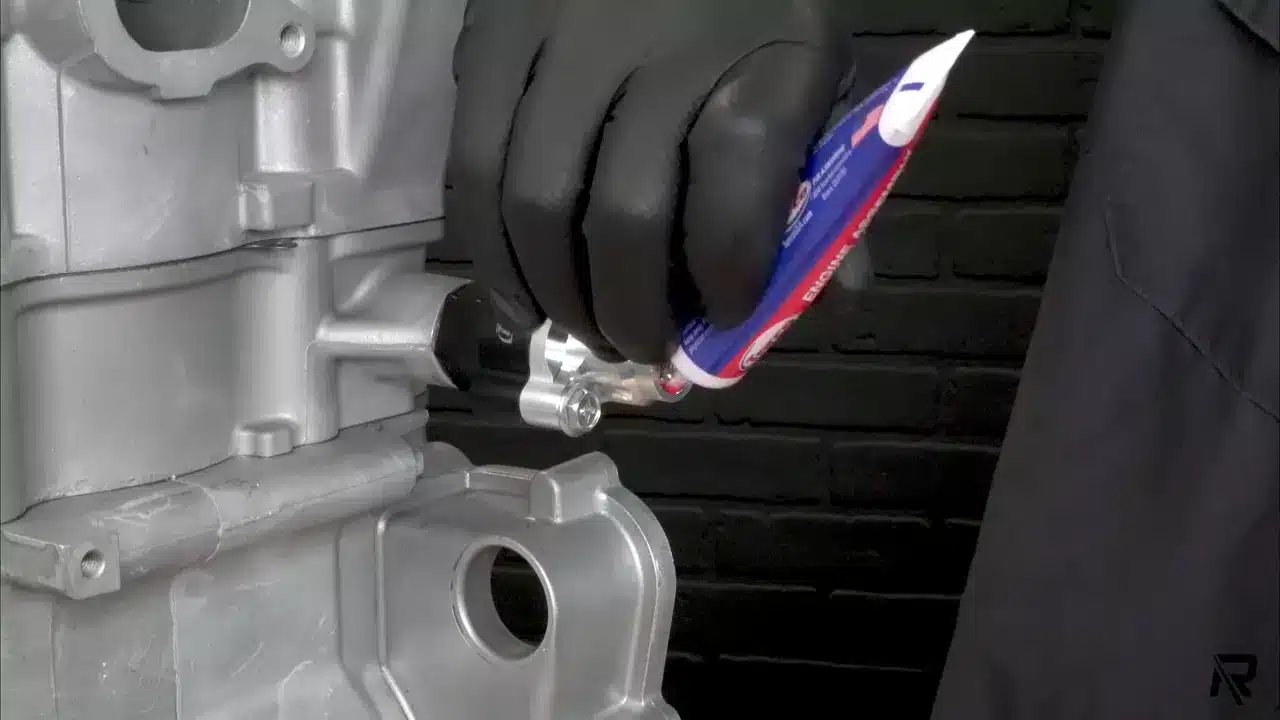
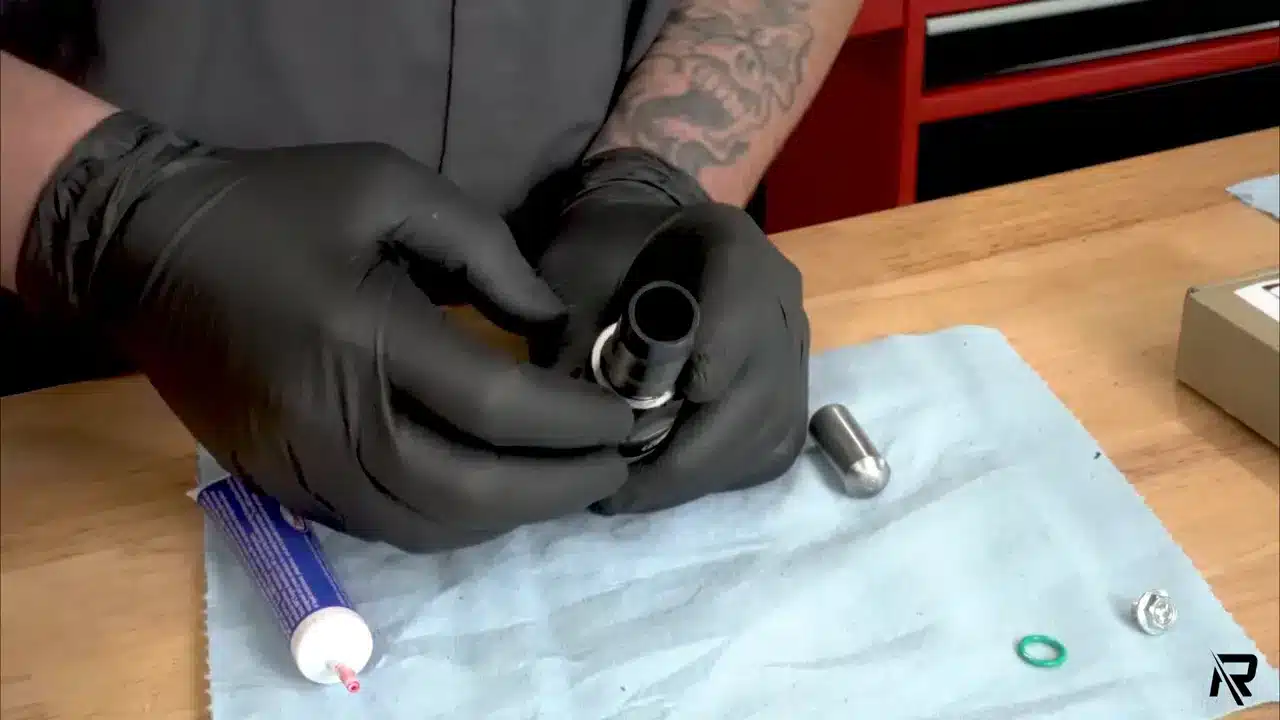
Apply assembly lube to the opening.
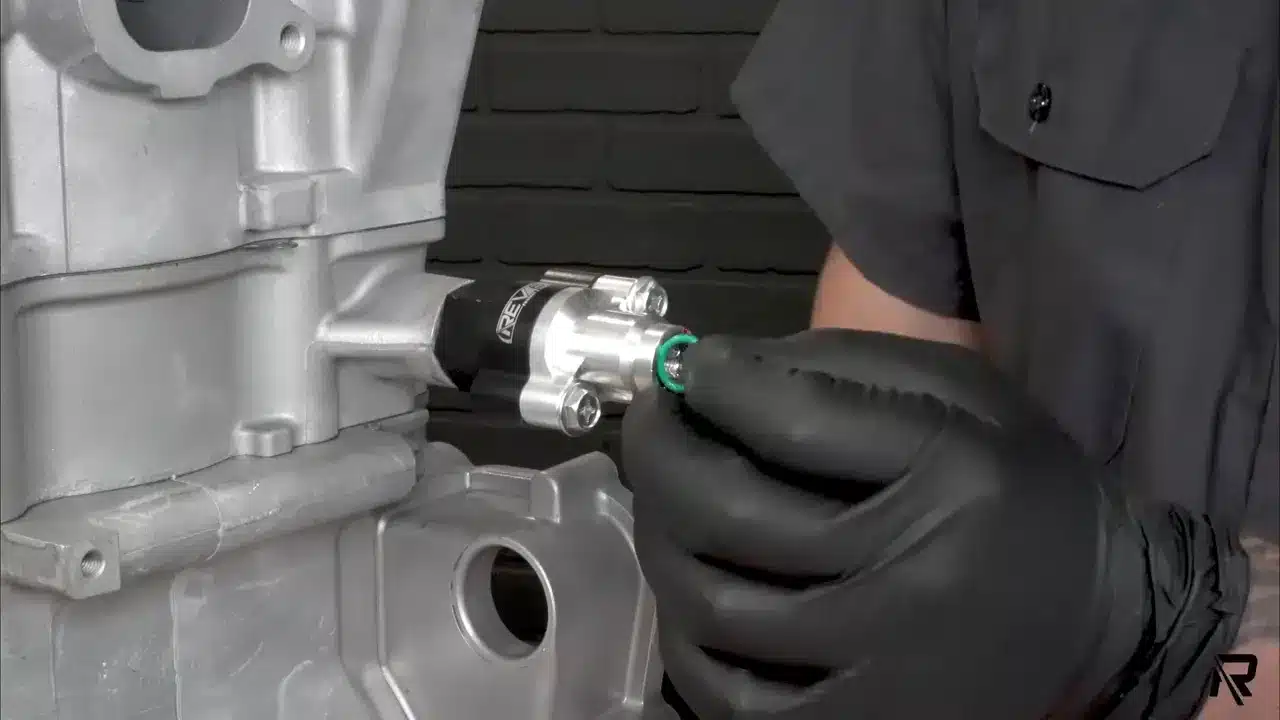
And then place the o-ring. The lube should help hold the o-ring in place.
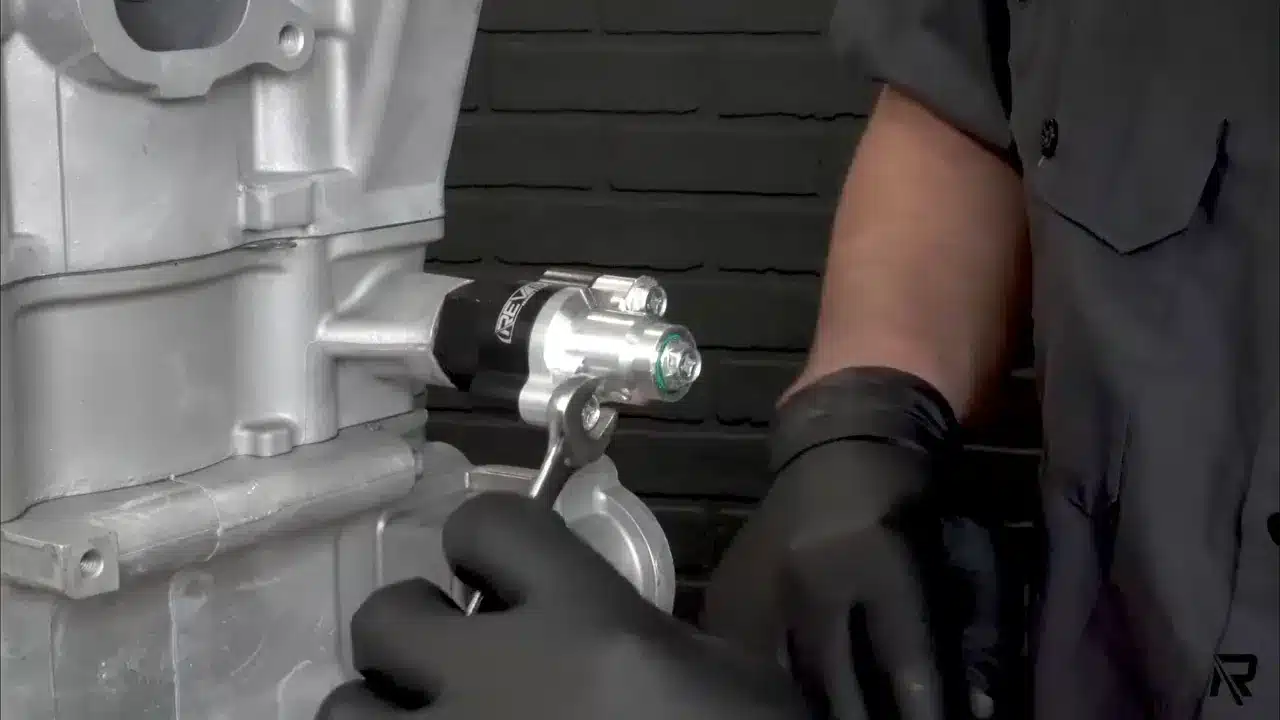
Place the remaining bolt and tighten by hand. Go back and make sure the other two bolts are snug.
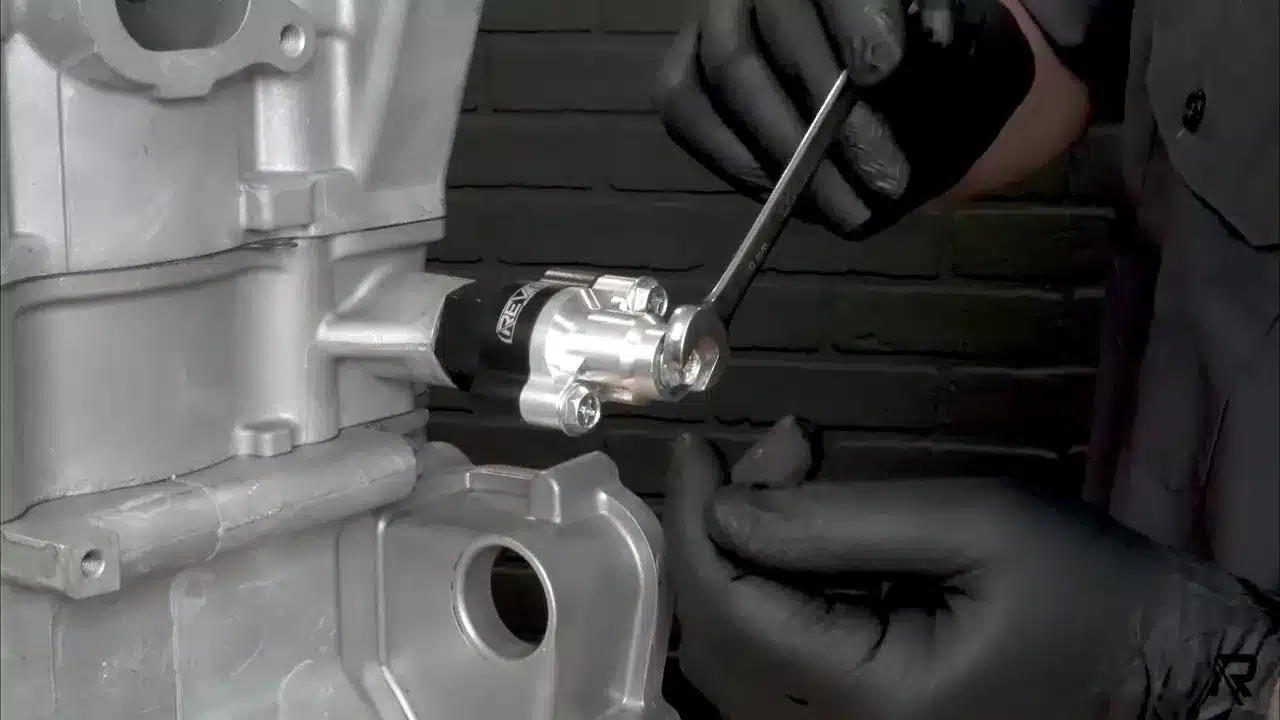
When snugging down the main bolt. Turn your wrench slowly until you start seeing some of the lube squeezing out around the tensioner. Go little by little until you reach that snug fit. Please remember not to over-tighten; 86 inch-pounds should do.
Step 5: Verify Timing

Once the assembly is fully installed, check the timing again. Rotate the motor a few times and ensure that the I’s and E’s line up with the correct mark at top dead center.
And that’s it! Your tensioner has been upgraded to a mechanical ratcheting-style tensioner!
The installation process for a 900, 1000, or even a turbo largely remains the same, only differing slightly in finding the TDC. But don’t worry, once you’ve mastered this, it should be a walk in the park.
I hope you found this guide useful. If you want to see how the installation works with the flywheel or cover on it, or if you still have any questions, drop a comment below or text our Rev 6 number. Our enthusiastic team and I will be ready to help!
To watch the full, in-depth video tutorial, visit our YouTube channel.
If you want to see more of our work, check us out on TikTok, Instagram, and Facebook. Do let us know what other topics you would like us to cover next.
Stay tuned for more! Until next time, happy riding!


